Wheel throwing tips for beginners: mastering the pottery wheel
Wheel throwing is one of the most mesmerizing and challenging aspects of pottery. Watching a skilled potter transform a lump of clay into a perfect vessel seems like magic, but with patience and practice, anyone can learn. This guide covers essential tips to help beginners master the pottery wheel.
Getting started
Choosing your wheel
For beginners, an electric wheel is recommended:
| Feature | What to look for |
|---|---|
| Motor power | 1/4 to 1/2 HP minimum |
| Wheel head | 12-14 inches diameter |
| Speed control | Foot pedal preferred |
| Direction | Reversible is helpful |
| Stability | Heavy base prevents wobbling |
Setting up your workspace
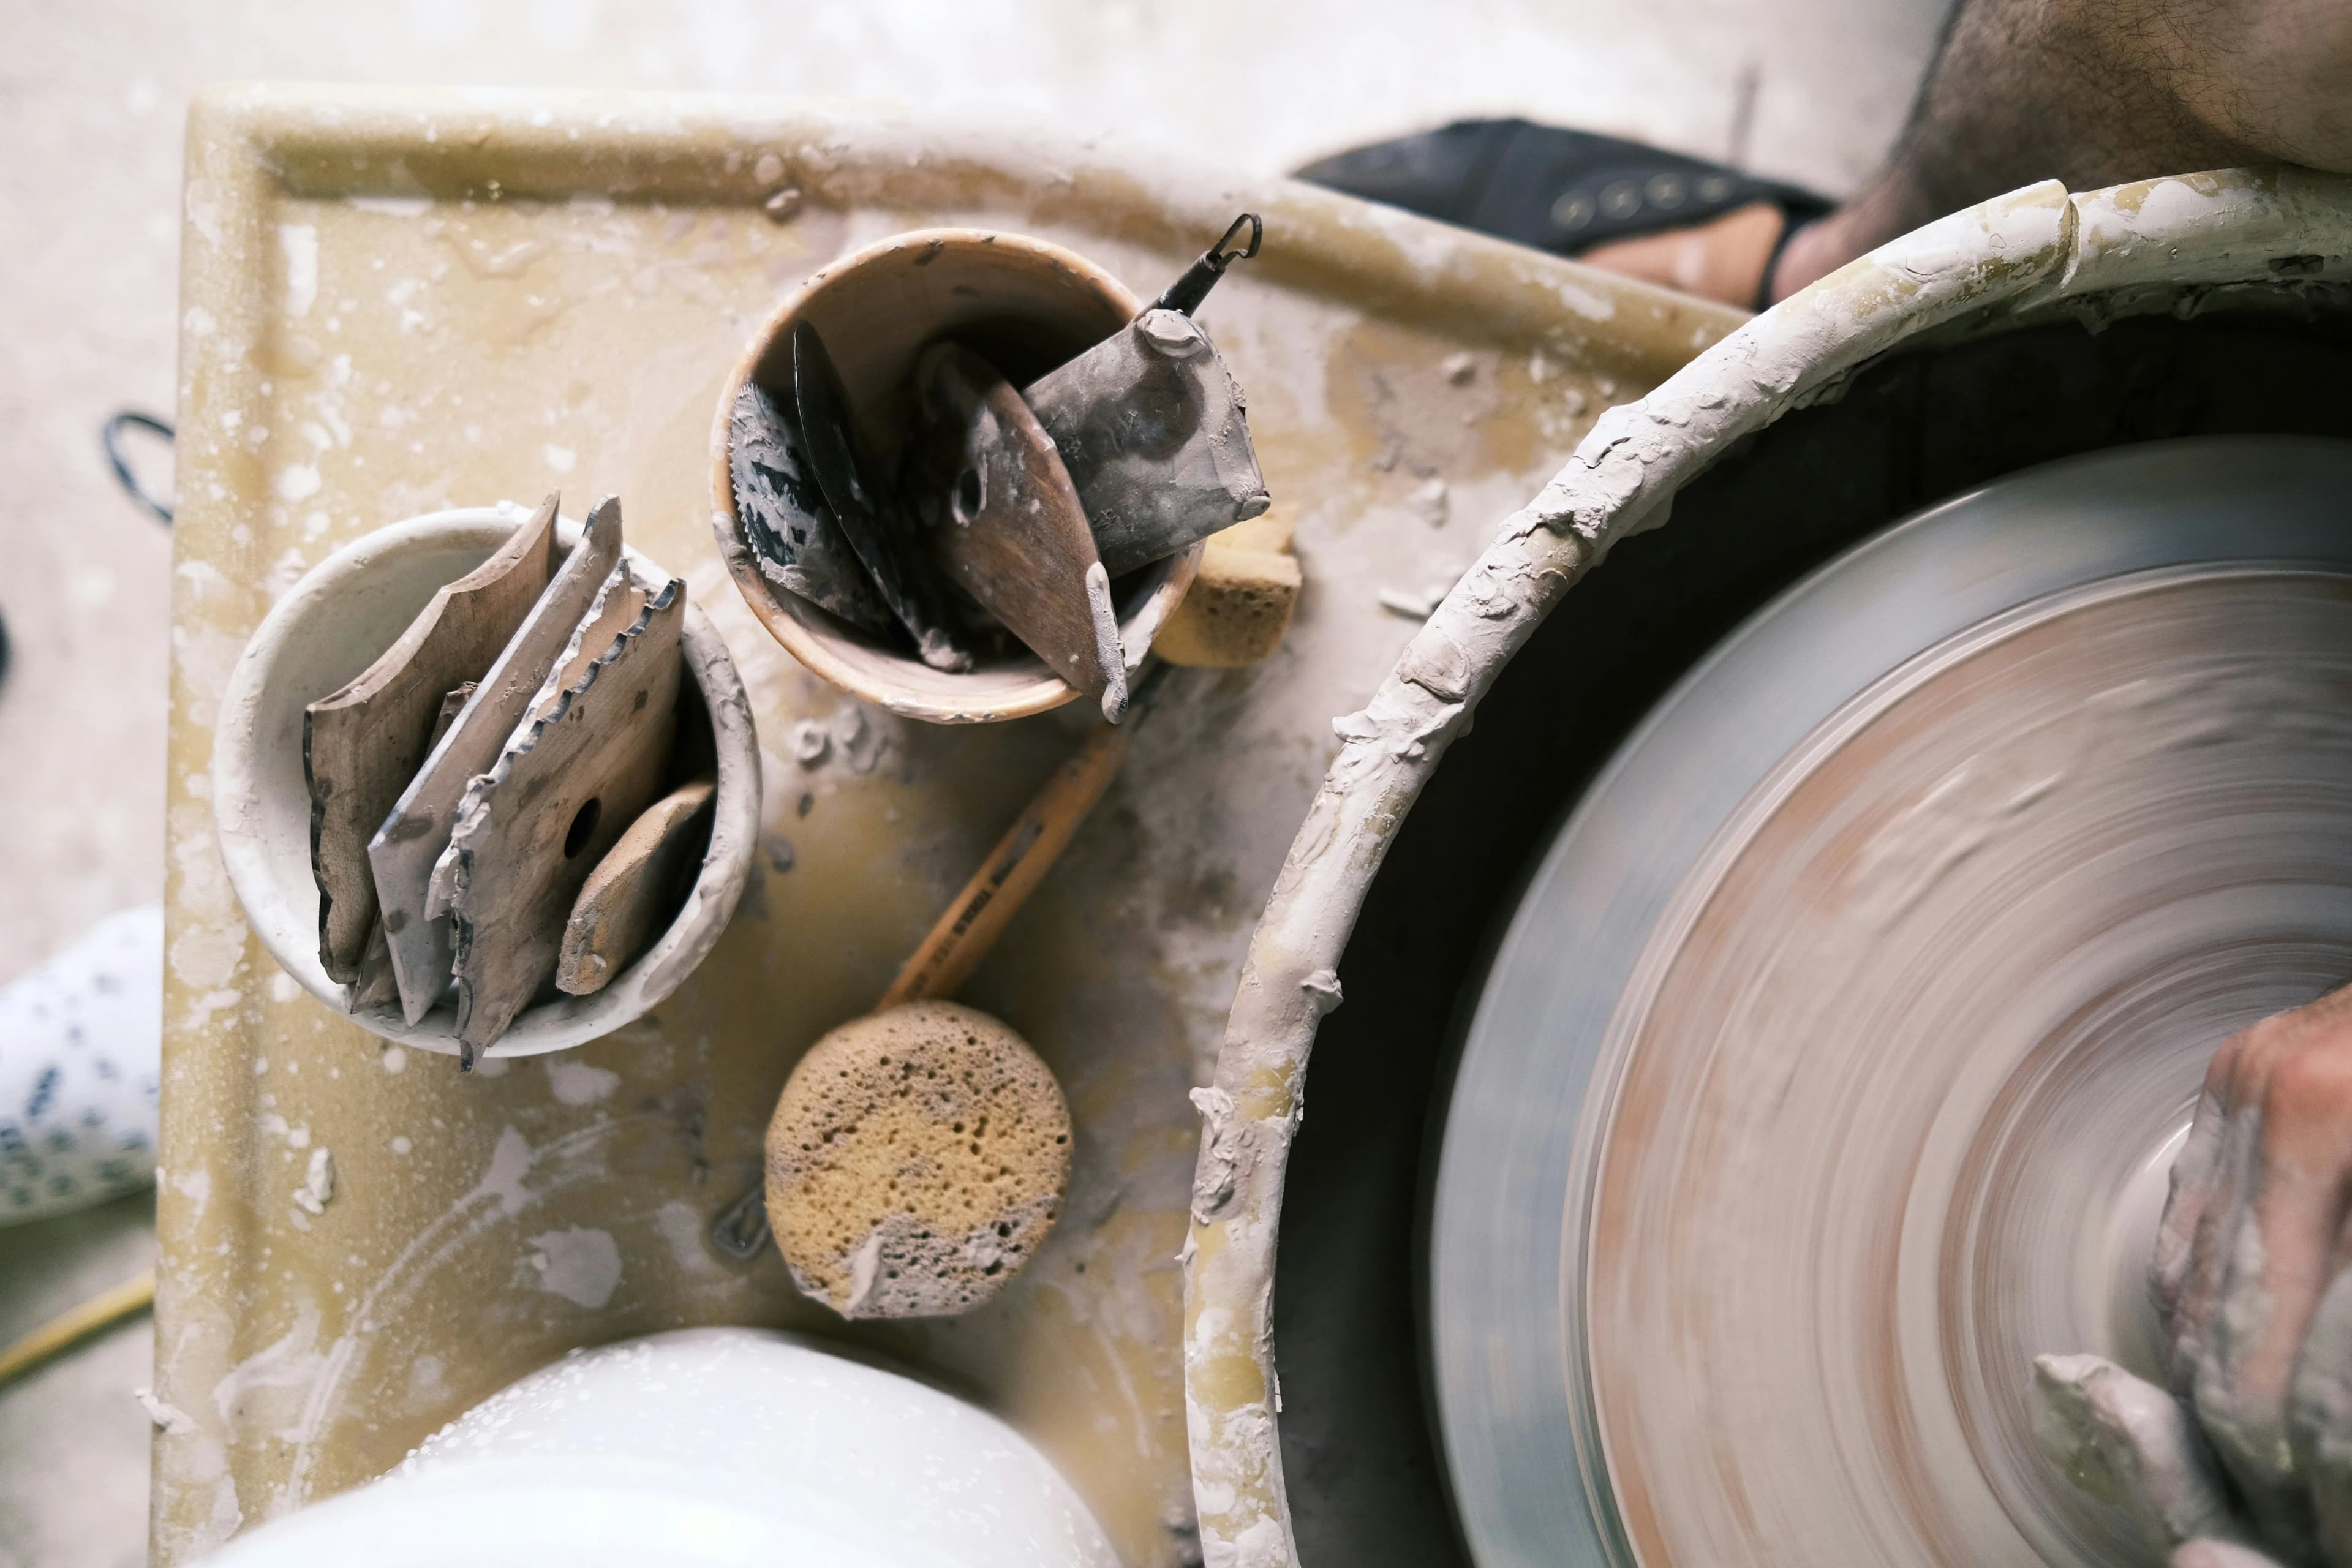
Essential items within reach:
- Water bucket
- Sponge
- Wire cutting tool
- Wooden rib
- Metal rib
- Needle tool
- Towel
Body position:
- Sit close to the wheel
- Keep your back straight
- Elbows braced against your body or legs
- Feet comfortable on the floor or pedal
Preparing clay for throwing
Wedging
Before throwing, clay must be wedged to:
- Remove air bubbles (prevent explosions in kiln)
- Create uniform consistency
- Align clay particles
Ram's head wedging technique:
- Form clay into a ball
- Push forward and down with palms
- Roll back toward you
- Repeat 25-50 times
- Clay should be smooth and homogeneous
Proper clay consistency
Your clay should be:
- Soft enough to manipulate easily
- Firm enough to hold shape
- Free of lumps and air bubbles
- Room temperature (not cold)
"Properly prepared clay is half the battle in wheel throwing. Never skip wedging." - Master potter
The art of centering
Centering is the foundation of wheel throwing. Without centered clay, you cannot throw a symmetrical piece.
Step-by-step centering
1. Attach clay to wheel head
- Slam ball firmly onto dry wheel head
- Pat into cone shape
- Wet hands and clay
2. Cone up
- Wheel at medium-fast speed
- Hands wet, cup around clay
- Squeeze and push upward
- Create tall cone shape
3. Cone down
- Press down on top with right palm
- Left hand supports sides
- Push clay into dome shape
4. Repeat
- Cone up and down 2-3 times
- This aligns clay particles
5. Final centering
- Create low dome shape
- No wobble when spinning
- Test with finger barely touching surface
Common centering mistakes
| Problem | Cause | Solution |
|---|---|---|
| Clay flies off | Wet wheel head | Dry before attaching |
| Wobbling | Hands not steady | Brace elbows, move slowly |
| Spiral pattern | Uneven pressure | Use steady, even force |
| Clay too tall | Not enough downward pressure | Push down firmly |
Opening the clay
Once centered, create a hole to form the base of your piece.
Opening technique
- Stabilize: Keep wheel at medium speed
- Anchor: Thumbs together, fingers wrapped around clay
- Press down: Push thumbs into center, stopping 1/4" from wheel head
- Open out: Draw thumbs toward you to widen hole
- Flatten base: Press bottom flat with fingertips
Opening tips
- Keep hands wet
- Move slowly and steadily
- Check base thickness with needle tool
- Base should be about 3/8" thick
Pulling walls
This is where your cylinder or bowl takes shape.
Basic wall pulling
Inside hand (left for right-handed):
- Fingers inside the form
- Apply pressure outward
Outside hand (right for right-handed):
- Fingers support outside wall
- Fingers positioned slightly lower than inside hand
The motion:
- Start at the base
- Squeeze gently between inside and outside fingers
- Pull upward slowly
- Release pressure before top edge
- Repeat 3-5 times
Wall pulling tips
- Keep walls wet but not soggy
- Thin walls in multiple passes, not one
- Maintain even wall thickness
- Don't let top edge get too thin
- Use a rib to smooth and compress
Creating basic forms
Cylinders
The foundation of all thrown forms:
- Center 1-2 lbs of clay
- Open to create base
- Pull walls straight up
- Maintain parallel walls
- Aim for even thickness throughout
Common cylinder problems:
- Flaring out: Apply more pressure from outside
- Collapsing: Walls too thin or wet
- S-curve: Inconsistent hand position
Bowls
After mastering cylinders, try bowls:
- Center 1-2 lbs of clay
- Open wider than for cylinder
- Pull walls outward at angle
- Support outside with rib
- Create smooth curve from base to rim
Cups and mugs
Cylinders with personality:
- Throw a cylinder
- Shape belly if desired
- Trim foot when leather hard
- Attach handle when leather hard
Finishing techniques
Trimming
When clay is leather-hard:
- Center upside-down on wheel
- Secure with clay wads or chuck
- Use trimming tools to remove excess
- Create foot ring
- Sign your piece
Handles
For cups and mugs:
Pulled handles:
- Form thick clay coil
- Wet one end, attach to mug
- Pull downward to thin and lengthen
- Attach bottom, curve as desired
Extruded handles:
- Push clay through handle die
- Let stiffen slightly
- Cut to length
- Attach to mug
Common beginner challenges
"My clay won't center"
Solutions:
- Use softer clay
- Slow down
- Brace your elbows firmly
- Keep hands very wet
- Practice with smaller amounts
"My walls keep collapsing"
Solutions:
- Don't pull too thin too fast
- Keep clay from getting too wet
- Work faster to prevent overworking
- Use less water
- Compress walls with rib
"My pieces are uneven"
Solutions:
- Spend more time centering
- Keep hands steady during pulling
- Brace elbows against body
- Move hands smoothly and slowly
"My base is too thick/thin"
Solutions:
- Use needle tool to check thickness
- Practice consistent opening depth
- Leave more clay than you think for trimming
Practice exercises
For centering (Week 1-2)
- Center and recycle same ball of clay 20 times
- Increase clay weight gradually
- Time yourself to track improvement
For cylinders (Week 3-4)
- Throw 10 cylinders per session
- Focus on consistency, not beauty
- Measure height and width to track progress
For bowls (Week 5-6)
- Throw matching sets of 4
- Practice consistent shapes
- Work on smooth curves
Tracking your progress
Learning wheel throwing is a journey that takes time and dedication. Keeping a practice journal helps you track what works, what doesn't, and how you're improving. If you're taking classes at a pottery studio, your instructor might use Ceramik to track your progress and keep notes on techniques you're learning, helping you get personalized guidance on your wheel throwing journey.
Manage your pottery studio
Ceramik is the app for teachers and studios to organize classes, students, and creative journeys.